
How to Create a Token on Polygon in 4 Easy Steps (WITHOUT CODING)
What is the Polygon Network and Why Should You Create a Token on It?
Polygon is a Layer 2 scaling solution for Ethereum that enhances speed, reduces costs, and improves scalability while maintaining Ethereum’s security and decentralization. It is designed to support a multi-chain ecosystem, making it a go-to choice for developers looking to build decentralized applications (dApps) and launch tokens efficiently.
Why Create a Token on Polygon?
- Low Transaction Fees — Polygon offers significantly lower gas fees compared to Ethereum, making it cost-effective for token transactions and smart contract execution.
- High Scalability — The network can process thousands of transactions per second, reducing congestion and improving user experience.
- Ethereum Compatibility — Since Polygon is built as a sidechain to Ethereum, it supports Ethereum-based assets and smart contracts, ensuring seamless interoperability.
- Fast Transactions — Transactions on Polygon are confirmed within seconds, making it ideal for DeFi projects, gaming, and NFT marketplaces.
- Strong Ecosystem — Polygon has a growing ecosystem of dApps, exchanges, and DeFi platforms, increasing the visibility and usability of tokens built on it.
- Sustainability & Innovation — Polygon aims to be environmentally friendly with its transition towards carbon neutrality and supports developers with grants and funding opportunities.
If you’re looking to launch a token with low fees, fast transactions, and broad compatibility with Ethereum’s ecosystem, Polygon is an excellent choice. Its scalability and developer-friendly infrastructure make it one of the most attractive blockchain networks today. 🚀
Step-by-step instruction
Step 1: Visit CoinFactory Polygon Token Creator
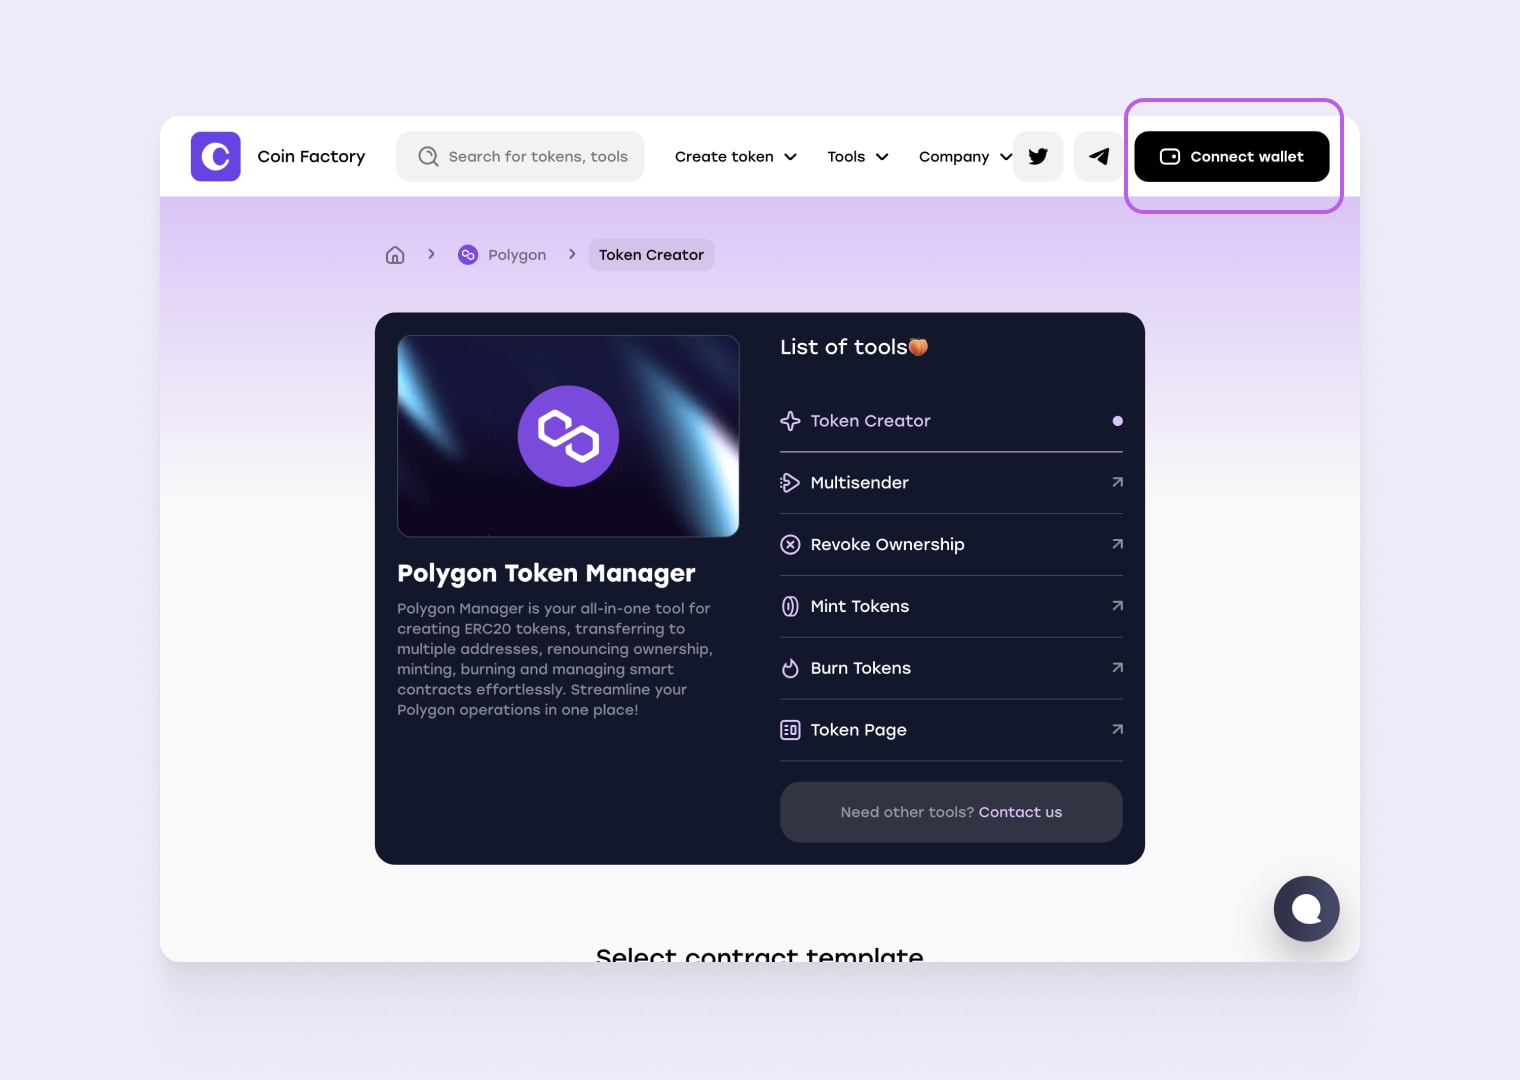
Step 2: Connect your wallet
Start by connecting your wallet to the CoinFactory Generator page. You need to connect the account that will be the owner of the smart-contract and where the initial token supply will be initiated. If you don’t have such a wallet, you can consider popular and secure options like MetaMask and Trust Wallet.
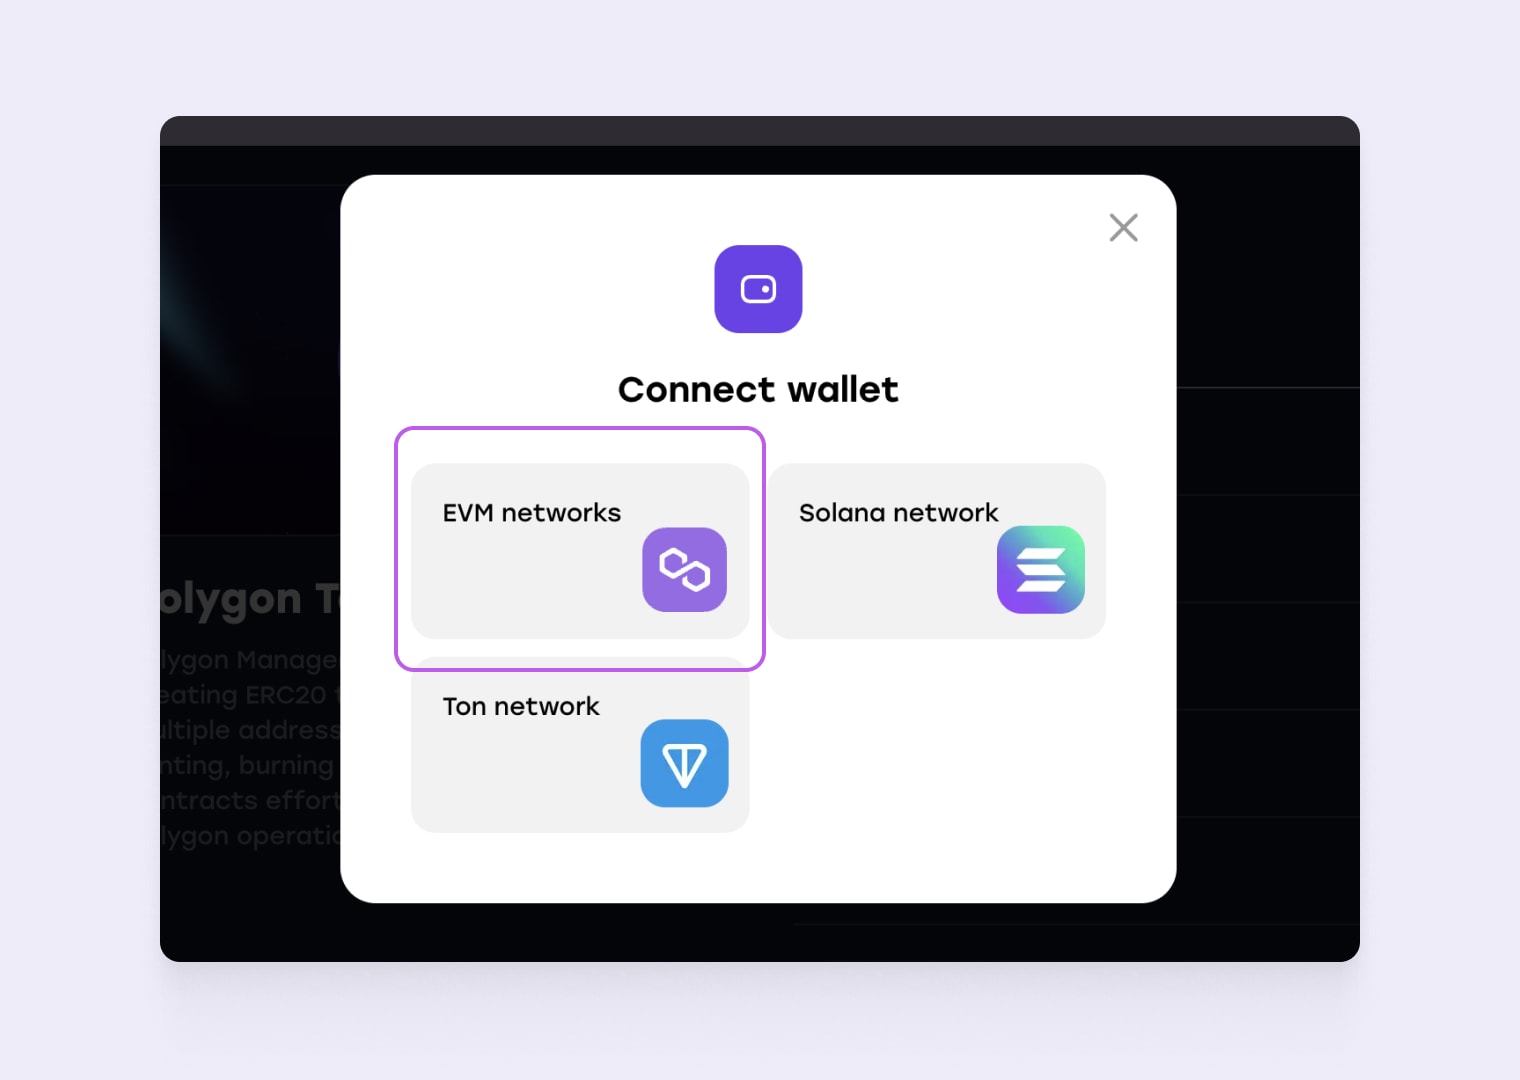
Click on EVM networks.
Select your wallet app.
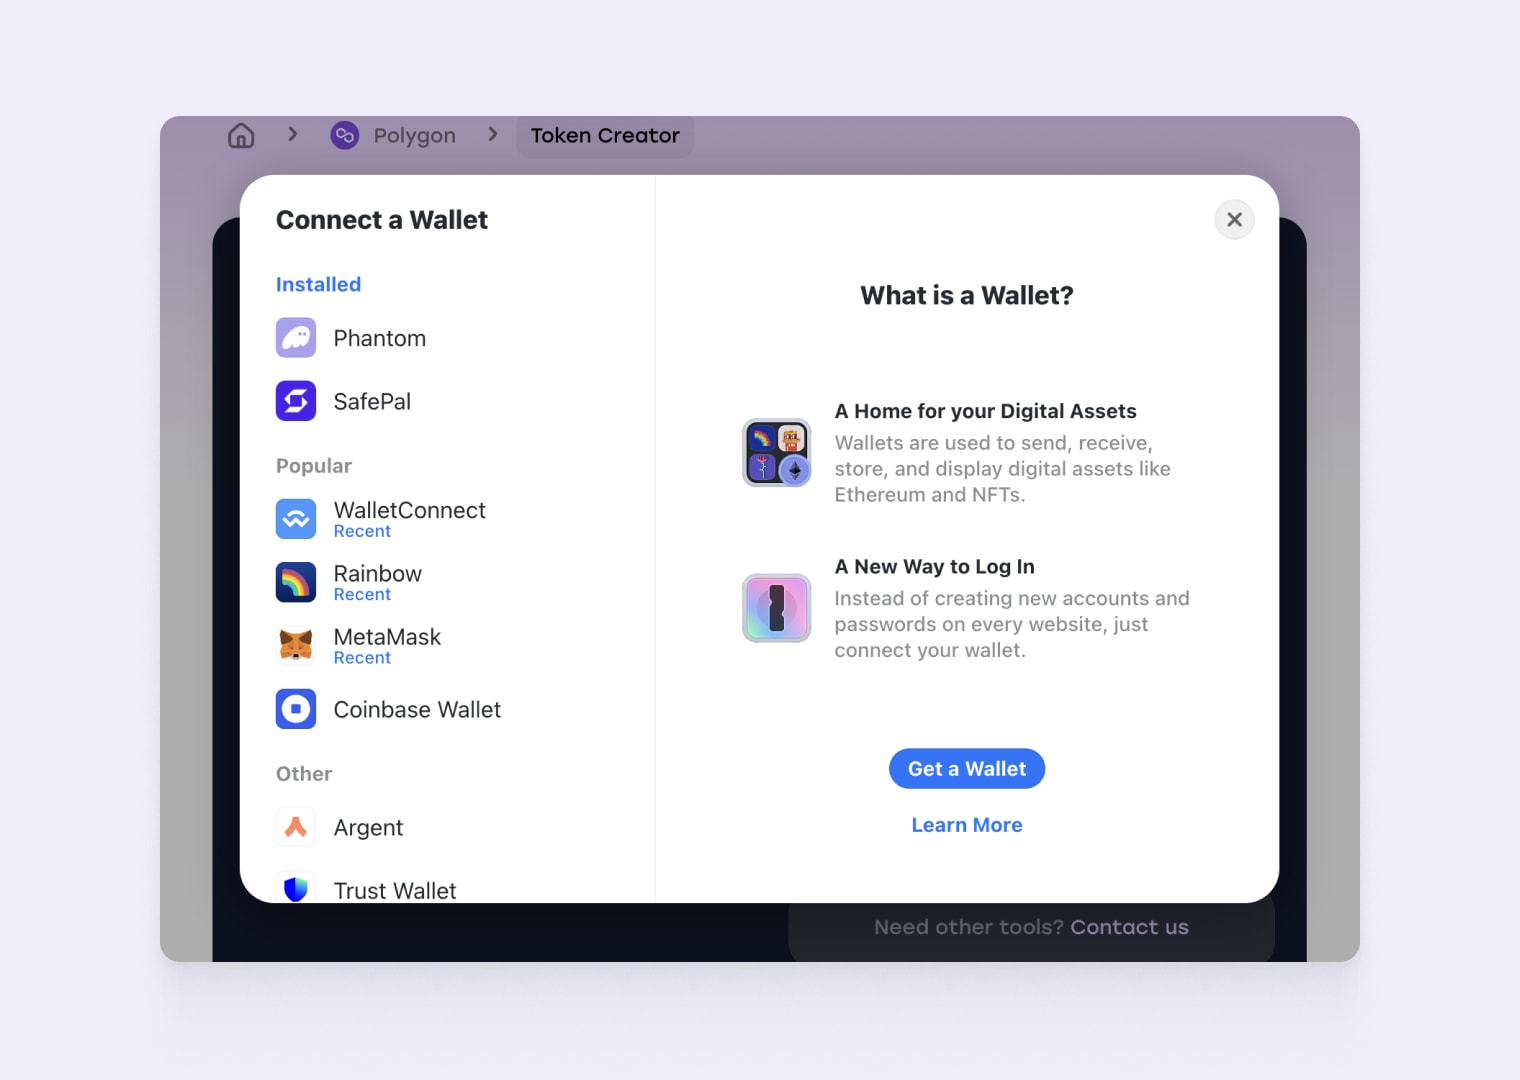
If you don’t have a network installed in your wallet, the wallet will prompt you to add one.
If you are using MetaMask, the wallet app will ask you to confirm the addition of the new network.
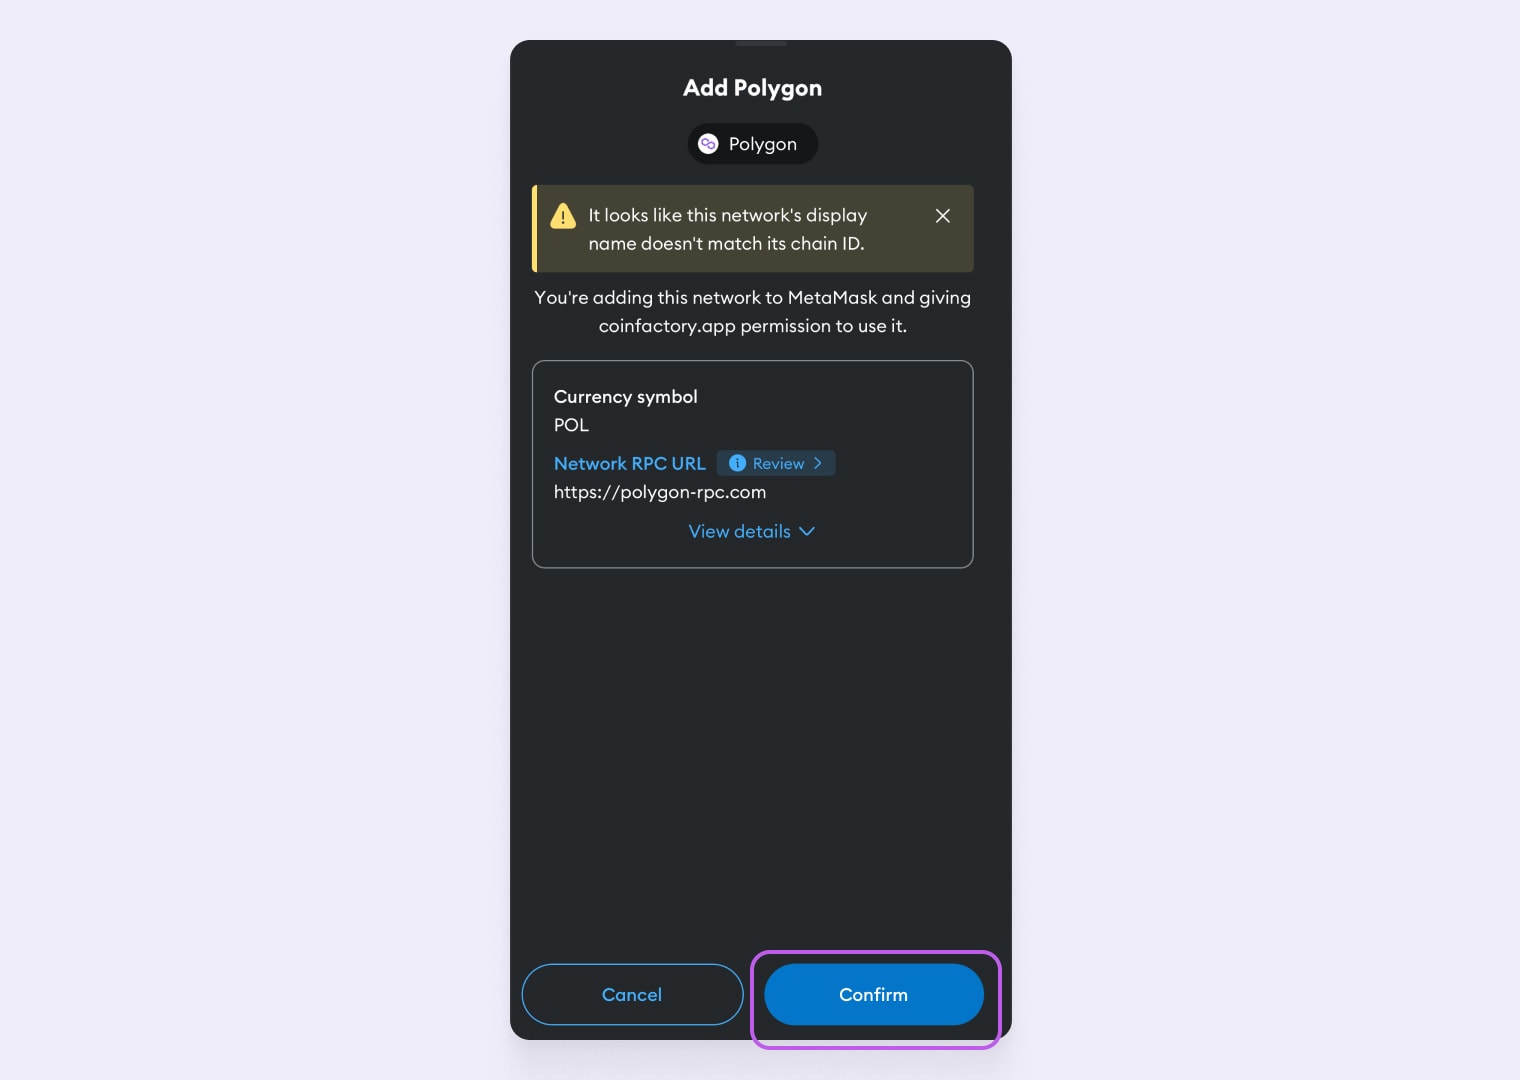
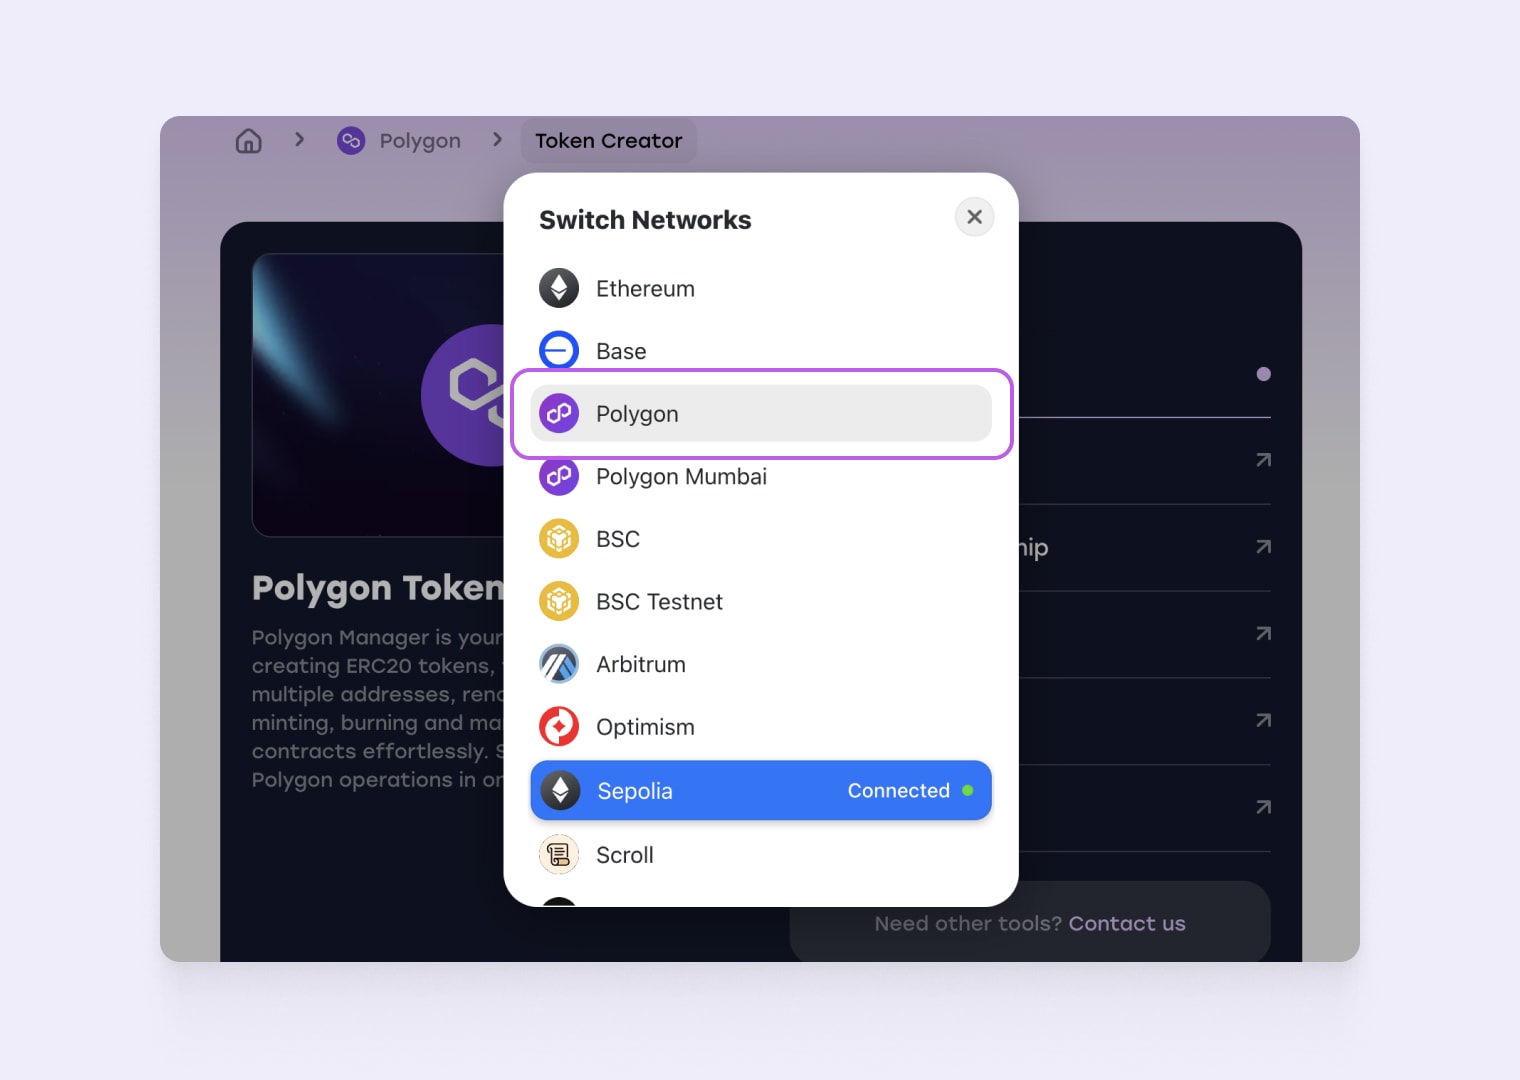
Check to see if the network has switched on the site. If the network has not switched, which happens when the network is newly added to the wallet, do it manually.
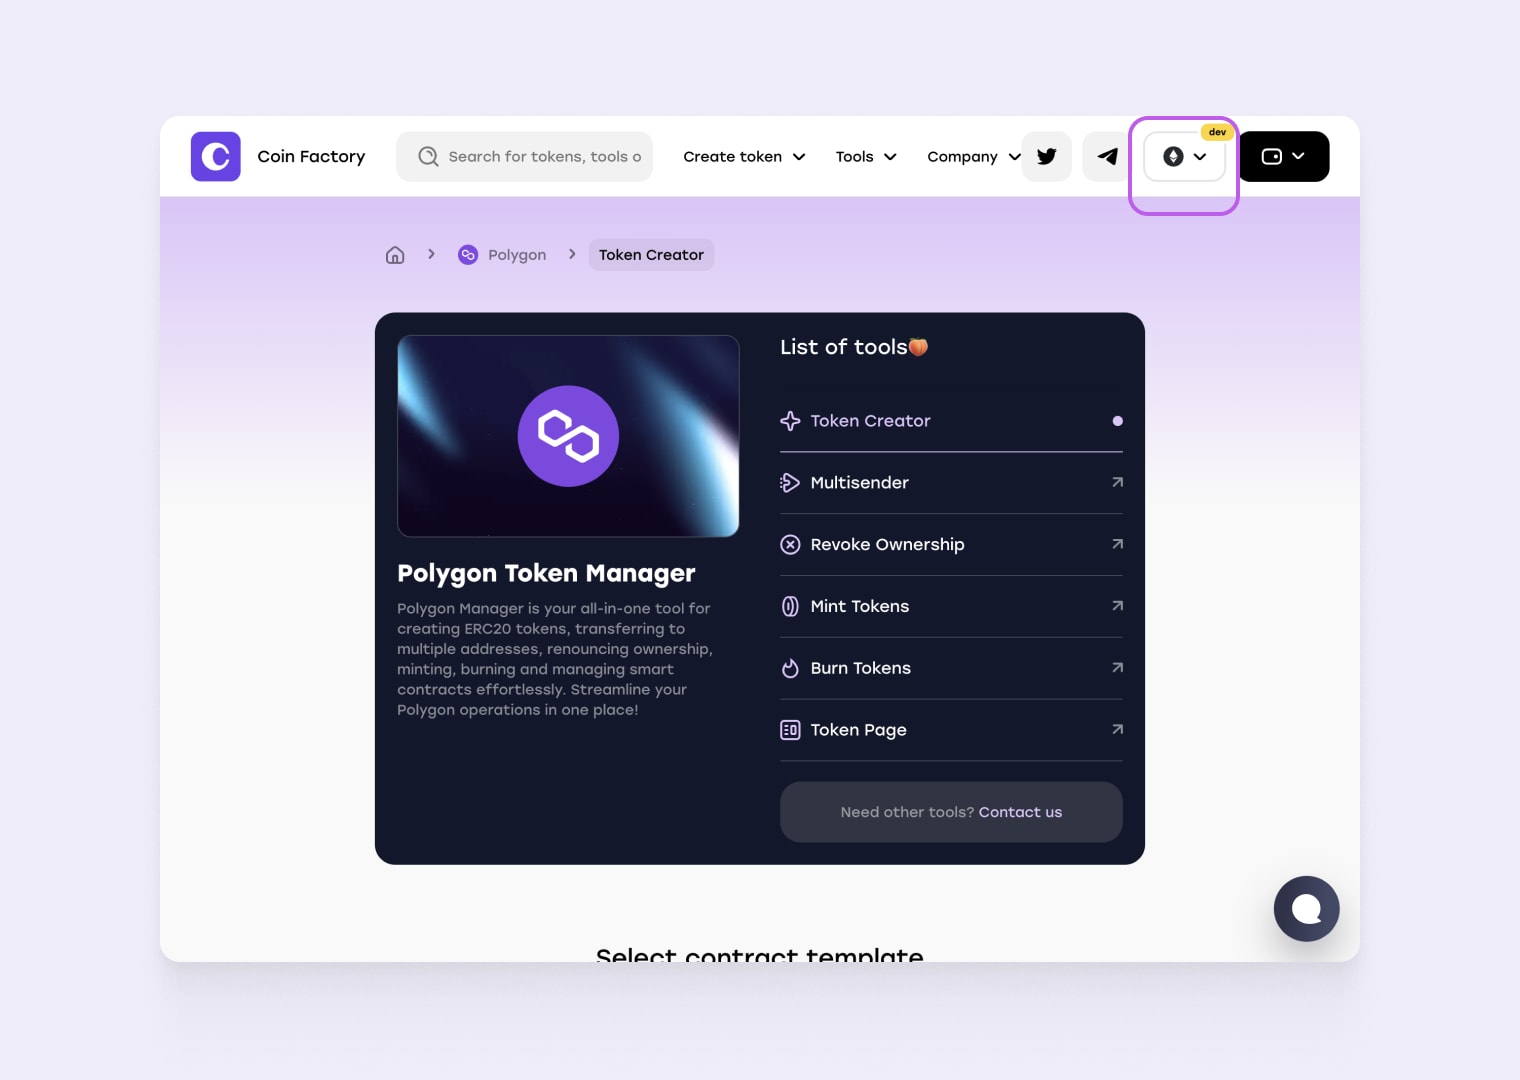
Click on Polygon.
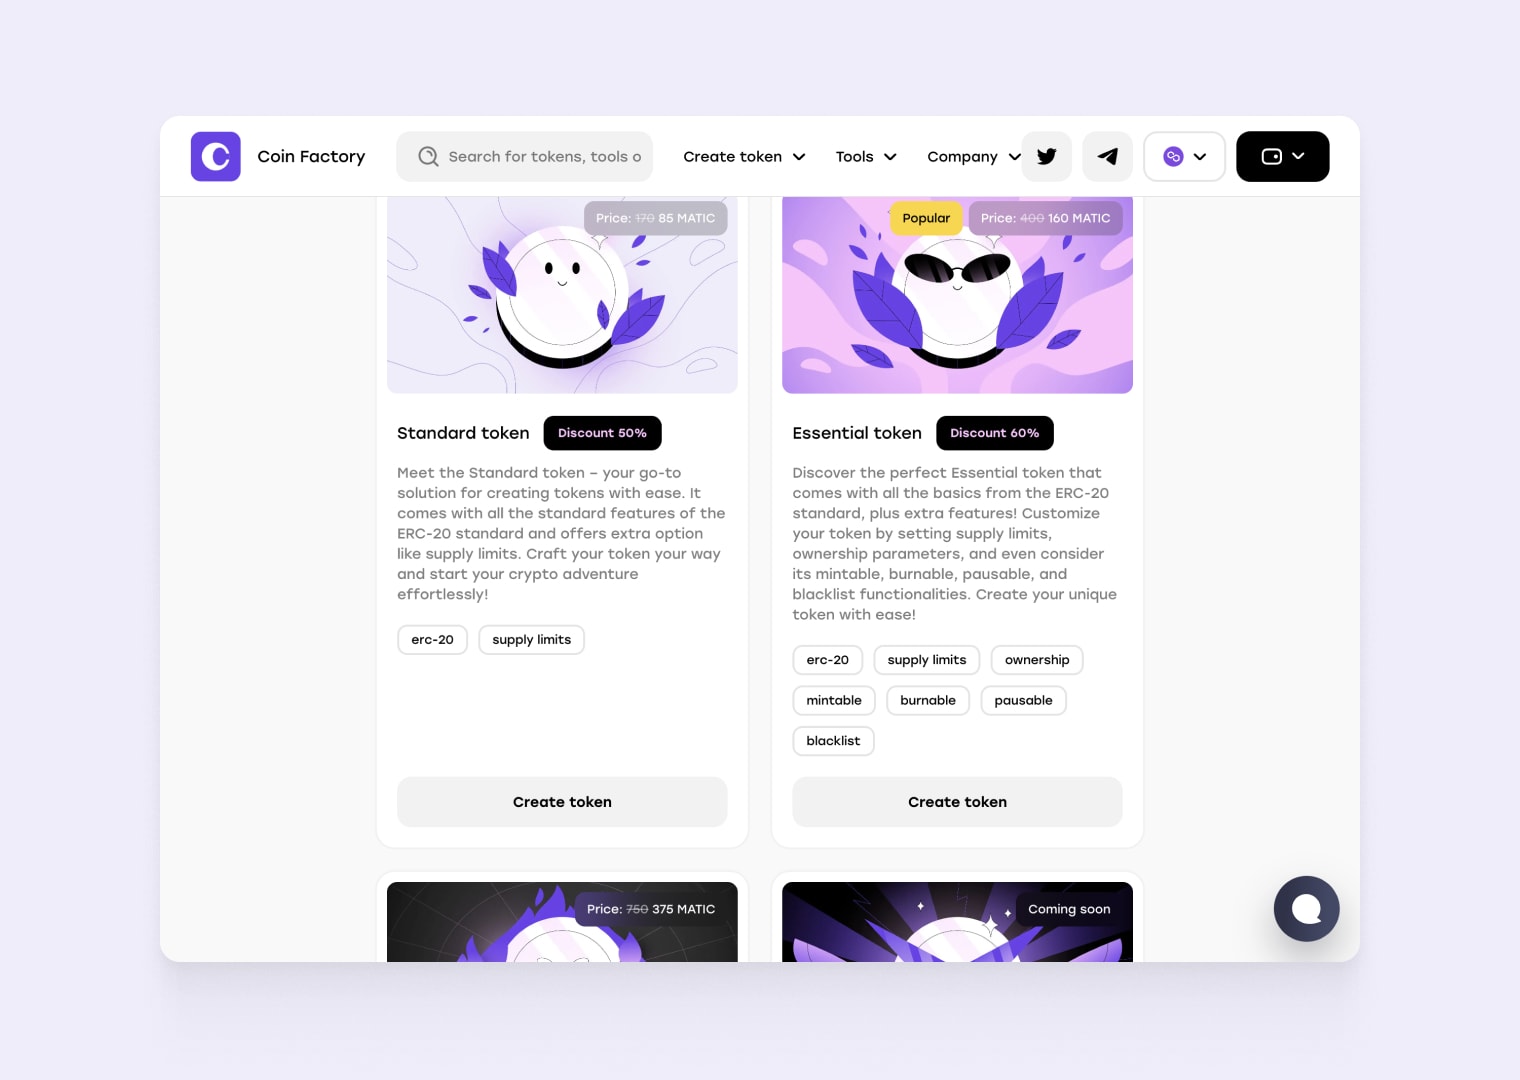
Step 3: Choose a contract template
Next, choose a contract template based on the functional requirements of your project and fill in the mandatory fields in the token creation form.
There are three most popular templates:
- Standard Token: This type of contract comes with all the standard features of the ERC-20 standard.
- Essential Token: Includes the basics from the ERC-20 standard, plus extra features! Customize your token by setting supply limits, ownership parameters, and even consider its mintable, burnable, pausable, and blacklist functionalities.
- Taxable Token: This versatile token, built on the ERC-20 standard, blends essential features with added flexibility. Tailor your token by enabling automatic tax or fee deductions from transactions.
Step 4: Define Token Details
Scroll down the page to the token creation form.
Next, you’ll be prompted to define the details of your ERC-20 token. This includes information such as the token name, symbol, total supply, and decimals. Take your time to carefully consider these details as they will define the characteristics of your token.
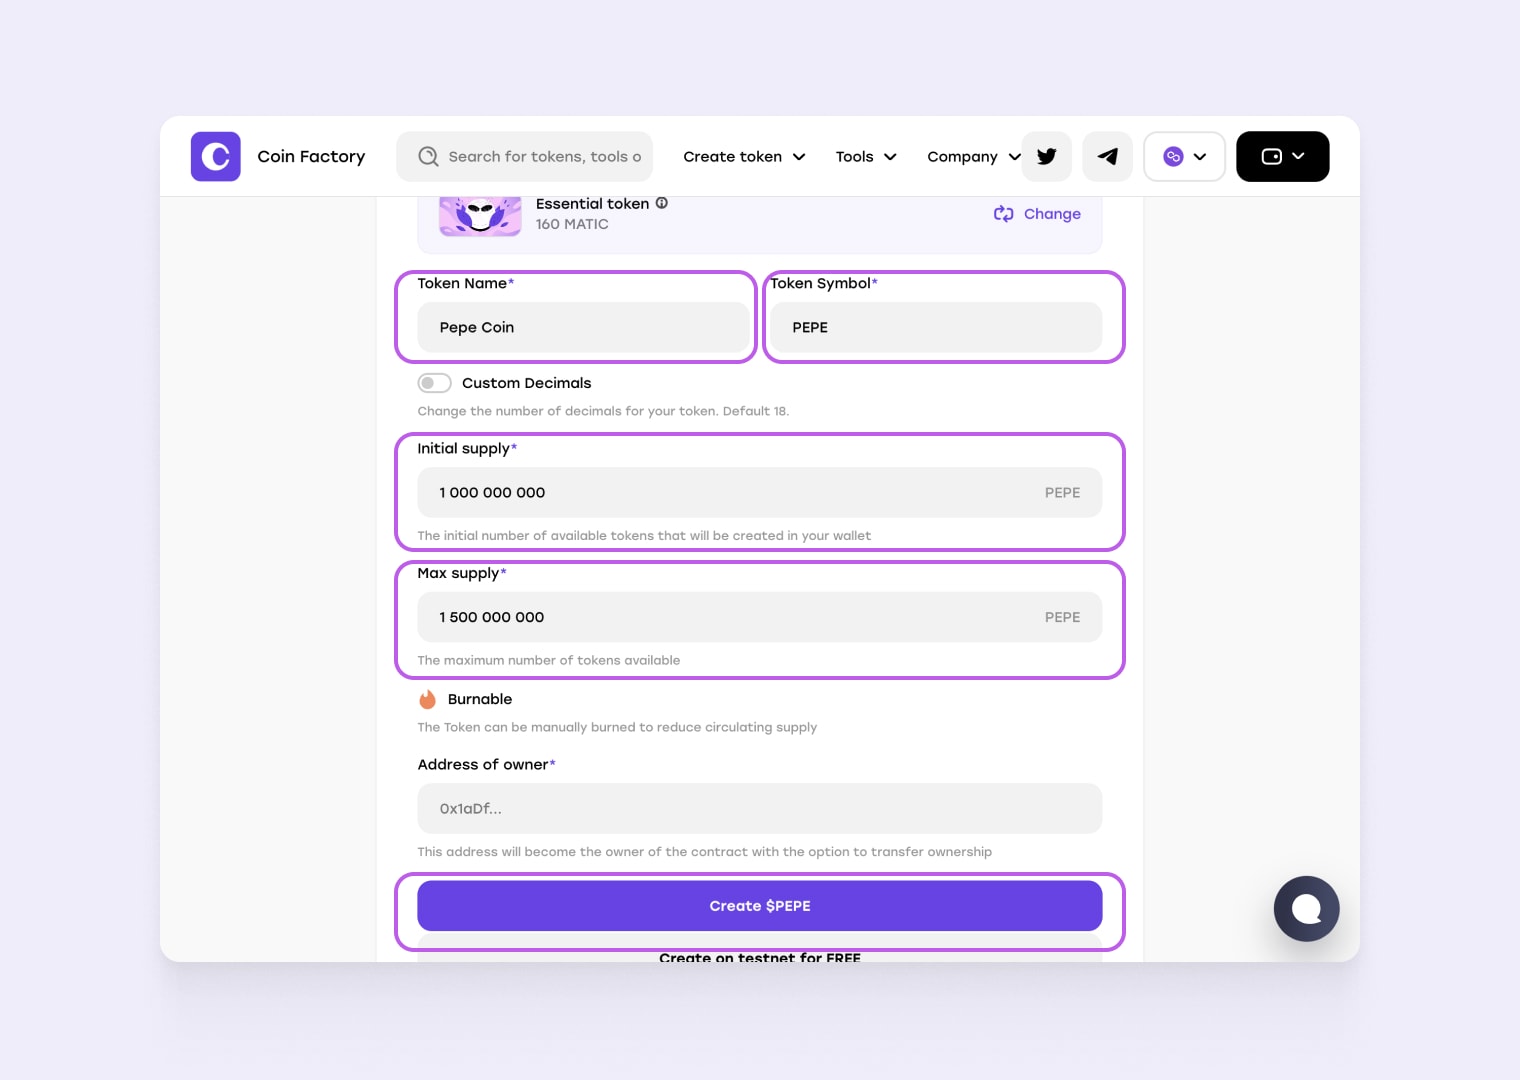
After filling out the form, click the “Create token” button, and you will see a confirmation form. Please double-check the data before confirming because once the contract is deployed on the blockchain, changes become impossible. If everything is filled out correctly, click “Deploy contract” and confirm the transaction in your wallet.

🎉Congratulations! Your own token on the Polygon network has been successfully created. You can visit PolygonScan to verify that the token minting to the contract owner’s address was completed successfully.

Tools for a coin on Polygon🏀
- Token Creator: Create your own Token without coding. Customize with metadata, supply;
- Mint Tokens: Mint new supply of your Tokens on Polygon. This action is available only for token admin;
- Burn Tokens: Burn your Tokens to remove tokens from circulation and increase token value;
- Renounce Ownership: Revoking the admin role will guarantee that nobody will ever be able to mint new tokens in the future or update metadata;
- Token Multisender: Send tokens to multiple addresses in one transaction using our fast, convenient and low cost Multisender.
Tags
Guide
Polygon
Meme