
How to Create an ERC-20 Token on Ethereum in 3 steps (WITHOUT CODING)
Welcome to the world of cryptocurrency! If you’re interested in creating your own digital currency, you’ve come to the right place. In the vast landscape of cryptocurrencies, ERC-20 tokens stand out as one of the most popular and accessible options for creators. But what exactly are ERC-20 tokens, and how can you create one?
In simple terms, ERC-20 tokens are digital assets built on the Ethereum blockchain. They follow a set of rules and standards defined by the Ethereum community, making them compatible with various platforms and wallets. These tokens can represent anything from utility coins to digital assets and are often used for crowdfunding, decentralized finance (DeFi) projects, and even gaming tokens.
Creating ERC-20 Tokens on Ethereum
Creating your own ERC-20 token might sound complex, but with the CoinFactory, this becomes a simple process that does not require knowledge of the Solidity language. In this guide, we’ll walk you through the essential steps to create your ERC-20 token, from understanding the basics to deploying it on the Ethereum network.
The main benefit of our service over most other ones is in optimizing the contract deployment process, so you pay minimal network fees. In a separate post we discuss technical details on how we were able to achieve these result, but for now take a look at an example of deploying a Essential Token to the main network:
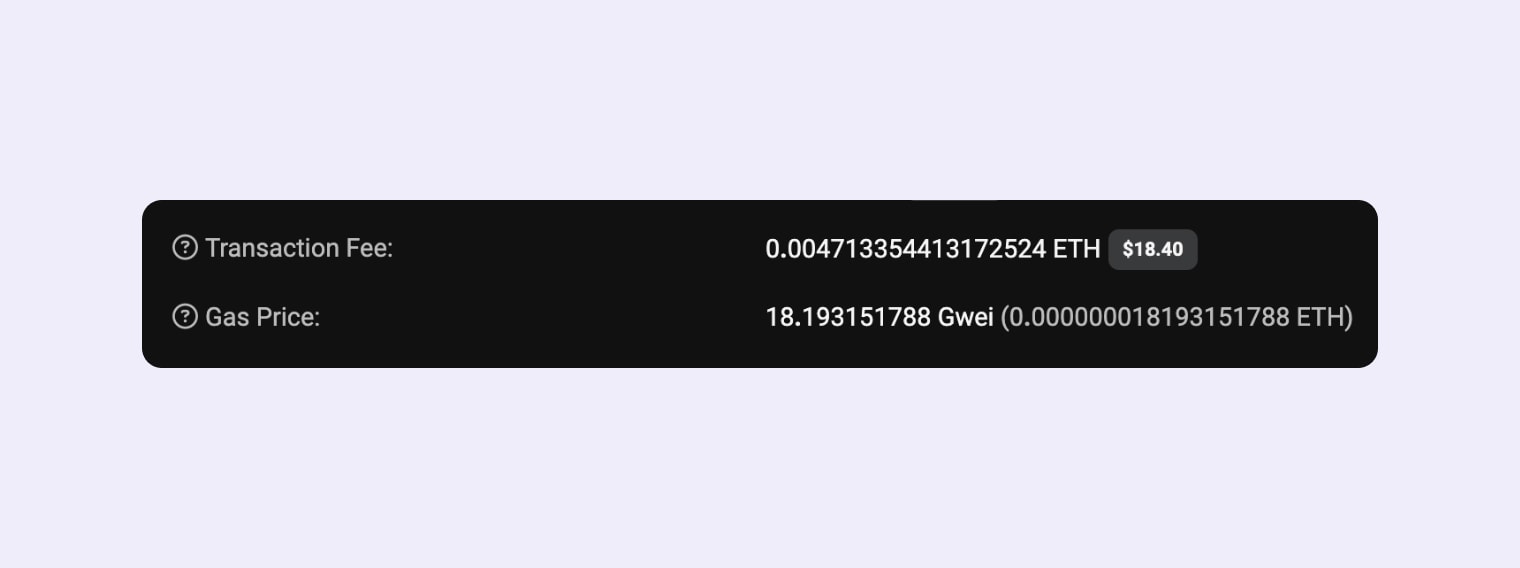
Once your token is deployed on the network, the code of smart contract will be immediately verified by Etherscan.
Step 1: Visit CoinFactory Ethereum Token Generator

Step 2: Connect your wallet
Start by connecting your wallet to the CoinFactory Generator page. You need to connect the account that will be the owner of the smart-contract and where the initial token supply will be initiated. If you don’t have such a wallet, you can consider popular and secure options like Metamask and Trust Wallet.
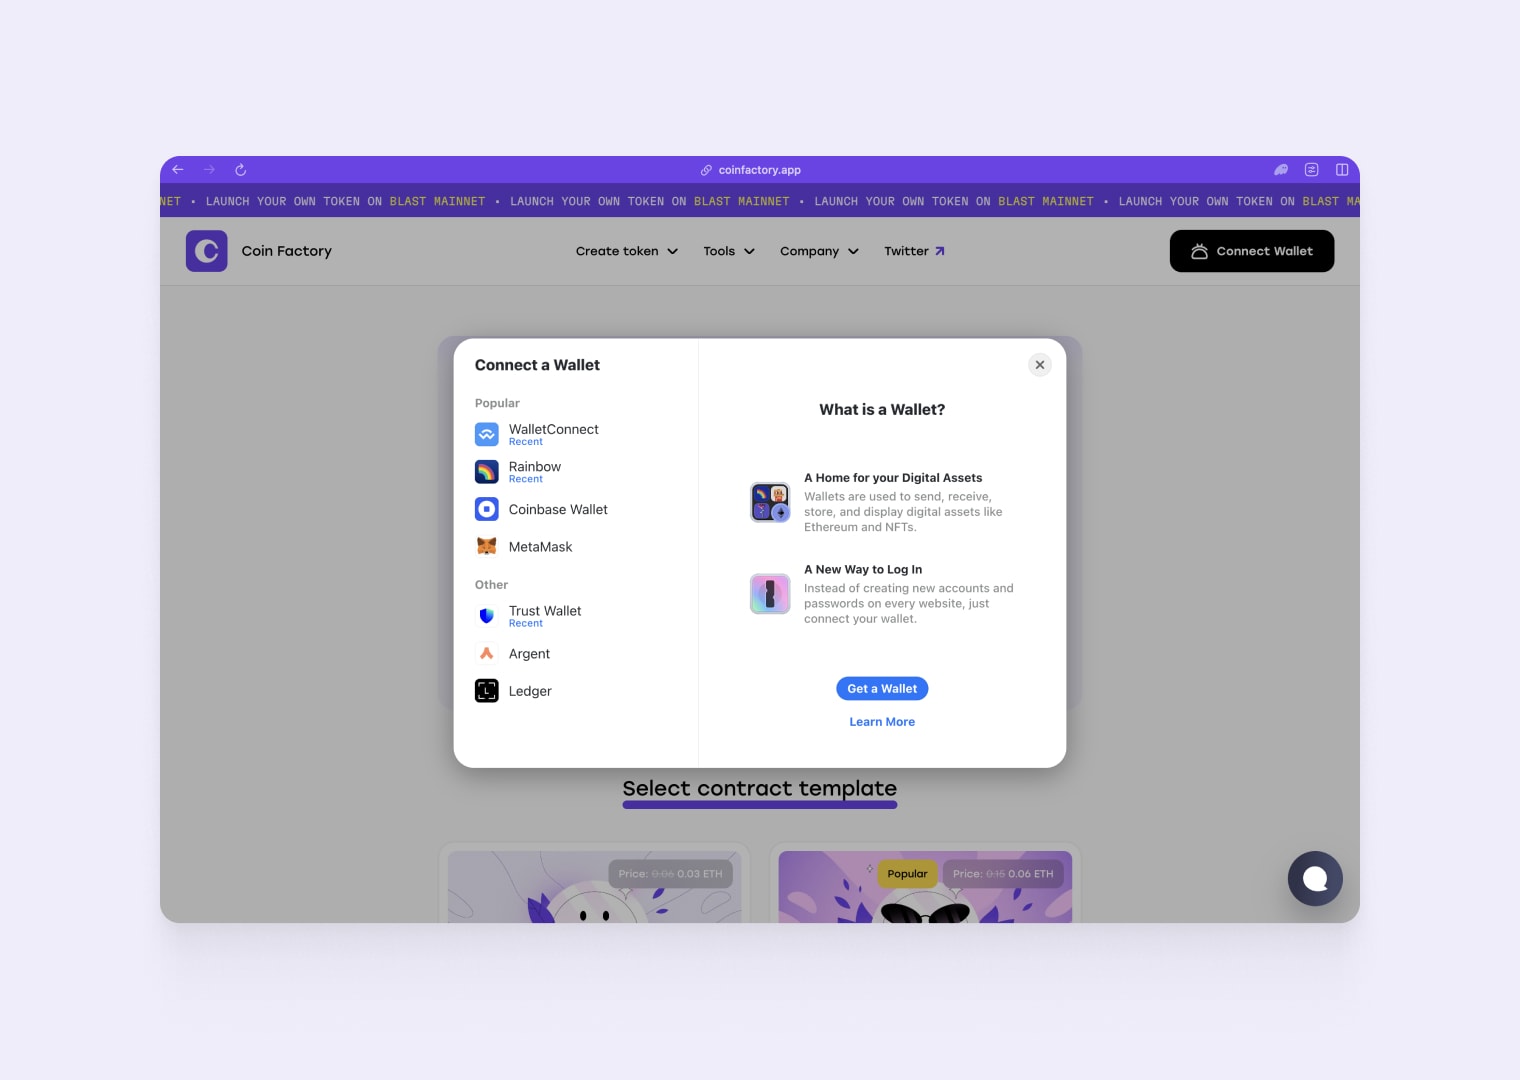
Step 3: Choose a contract template
Next, choose a contract template based on the functional requirements of your project and fill in the mandatory fields in the token creation form.
There are three most popular templates.
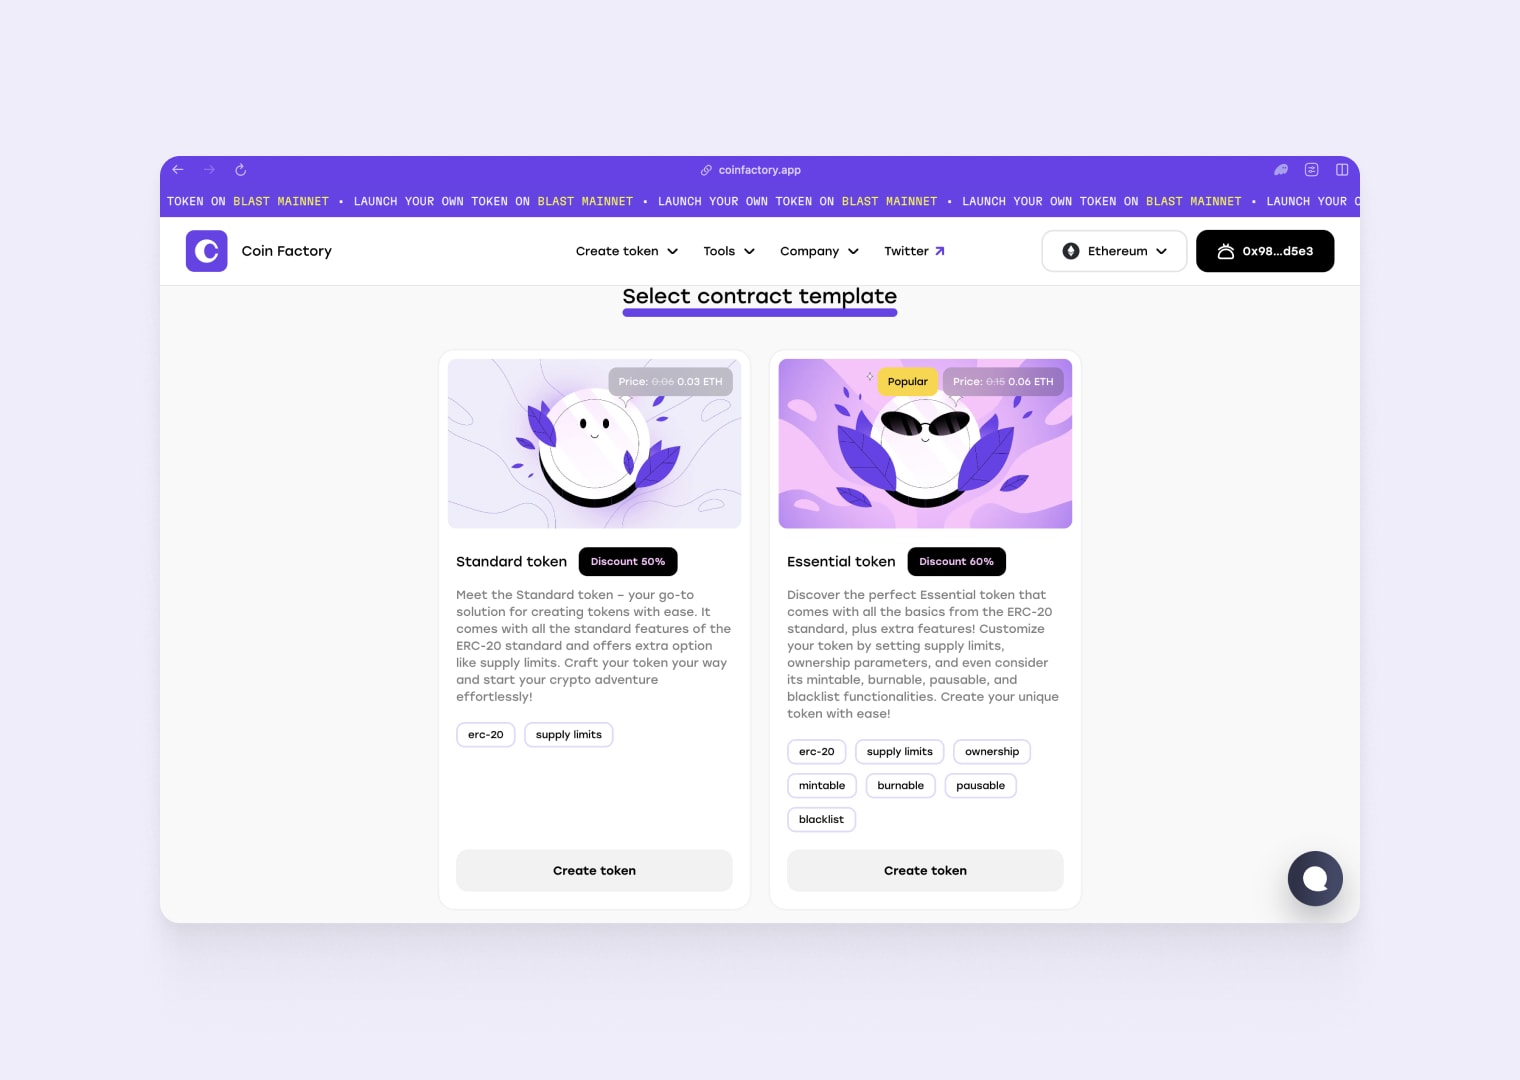
1. Standard Token: This type of contract comes with all the standard features of the ERC-20 standard.
2. Essential Token: Includes the basics from the ERC-20 standard, plus extra features! Customize your token by setting supply limits, ownership parameters, and even consider its mintable, burnable, pausable, and blacklist functionalities.
3. Taxable Token: This versatile token, built on the ERC-20 standard, blends essential features with added flexibility. Tailor your token by enabling automatic tax or fee deductions from transactions.
Step 4: Define Token Details
Next, you’ll be prompted to define the details of your ERC-20 token. This includes information such as the token name, symbol, total supply, and decimals. Take your time to carefully consider these details as they will define the characteristics of your token.

After filling out the form, click the “Create token” button, and you will see a confirmation form. Please double-check the data before confirming because once the contract is deployed on the blockchain, changes become impossible. If everything is filled out correctly, click “Deploy contract” and confirm the transaction in your wallet.
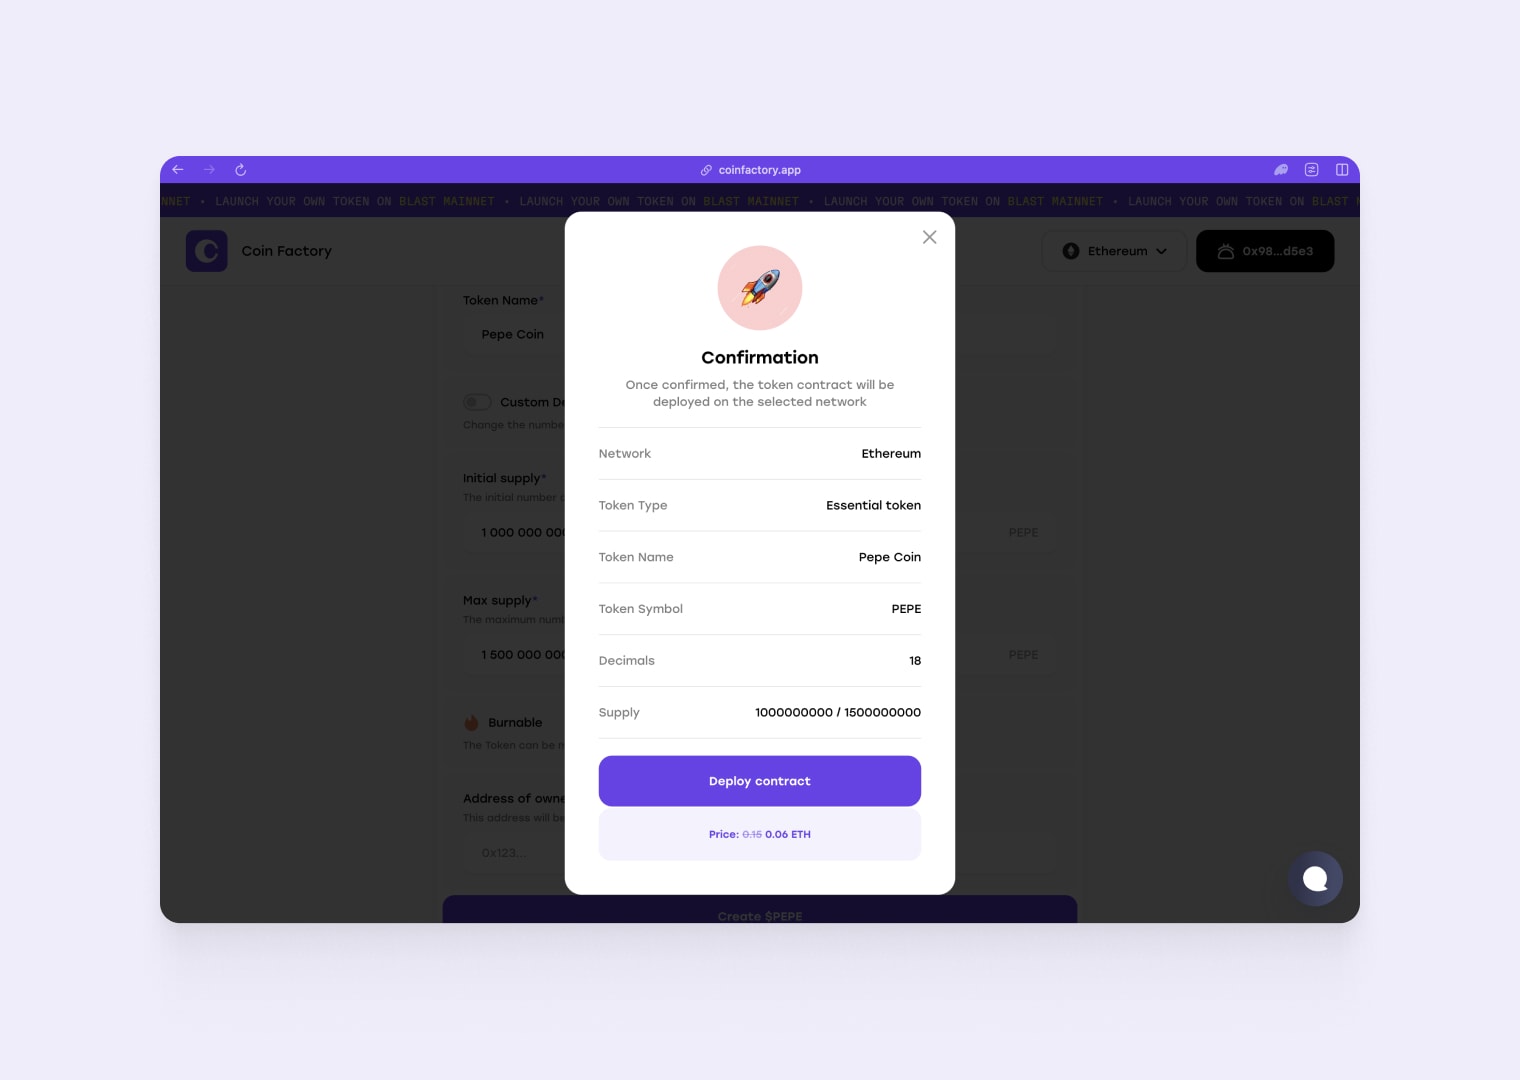
🎉Congratulations! Your own ERC-20 token has been successfully created. You can visit Etherscan to verify that the token minting to the contract owner’s address was completed successfully.
Tags
Guide
Ethereum
Erc20
Meme
