How to Create a Stablecoin Like USDT on Tron (TRC20)
Learn how to create your own USDT TRC20 token on the Tron network. Step-by-step guide to launching a Tron token without coding in just a few minutes.
Why Create a USDT TRC20 Token in 2026
Creating a USDT-style token on TRON in 2026 is one of the fastest and most affordable ways to launch a crypto project, payment system, or community currency. Thanks to low fees and fast transactions, TRC20 tokens are widely used for payments, rewards, Telegram Mini Apps, GameFi projects, and Web3 services.
A custom USDT token can help you:
- 🚀 launch a crypto startup;
- 🚀 create an in-app currency;
- 🚀 build reward and referral systems;
- 🚀 ️send fast global payments;
- 🚀 run airdrops and promotions.
TRON remains one of the most popular networks for stablecoin transfers, making TRC20 tokens familiar and trusted by millions of users worldwide. With platforms like CoinFactory, anyone can create a TRC20 token without programming knowledge in just a few minutes.
What you will need to create your own token on the Tron TRC20 network
Before you jump into CoinFactory, you only need two things to get started:
- 👛 A Crypto Wallet (TronLink Recommended): To interact with the Tron blockchain, you need a compatible Web3 wallet. We highly recommend TronLink, the official and most widely used wallet for the Tron ecosystem. You can install it as a browser extension for Chrome or Brave.
- ⛽️ TRX for Gas Fees: To deploy your smart contract to the blockchain, you must pay a one-time network fee. Make sure you have a sufficient amount of TRX (Tron's native coin) in your TronLink wallet to cover the deployment cost.
Step-by-step instructions
Step 1: Open CoinFactory and Connect Your Wallet
Go to CoinFactory TRC20 Token Creator and click the “Connect Wallet” button and connect your TronLink wallet. Make sure your wallet is switched to the TRON Mainnet.
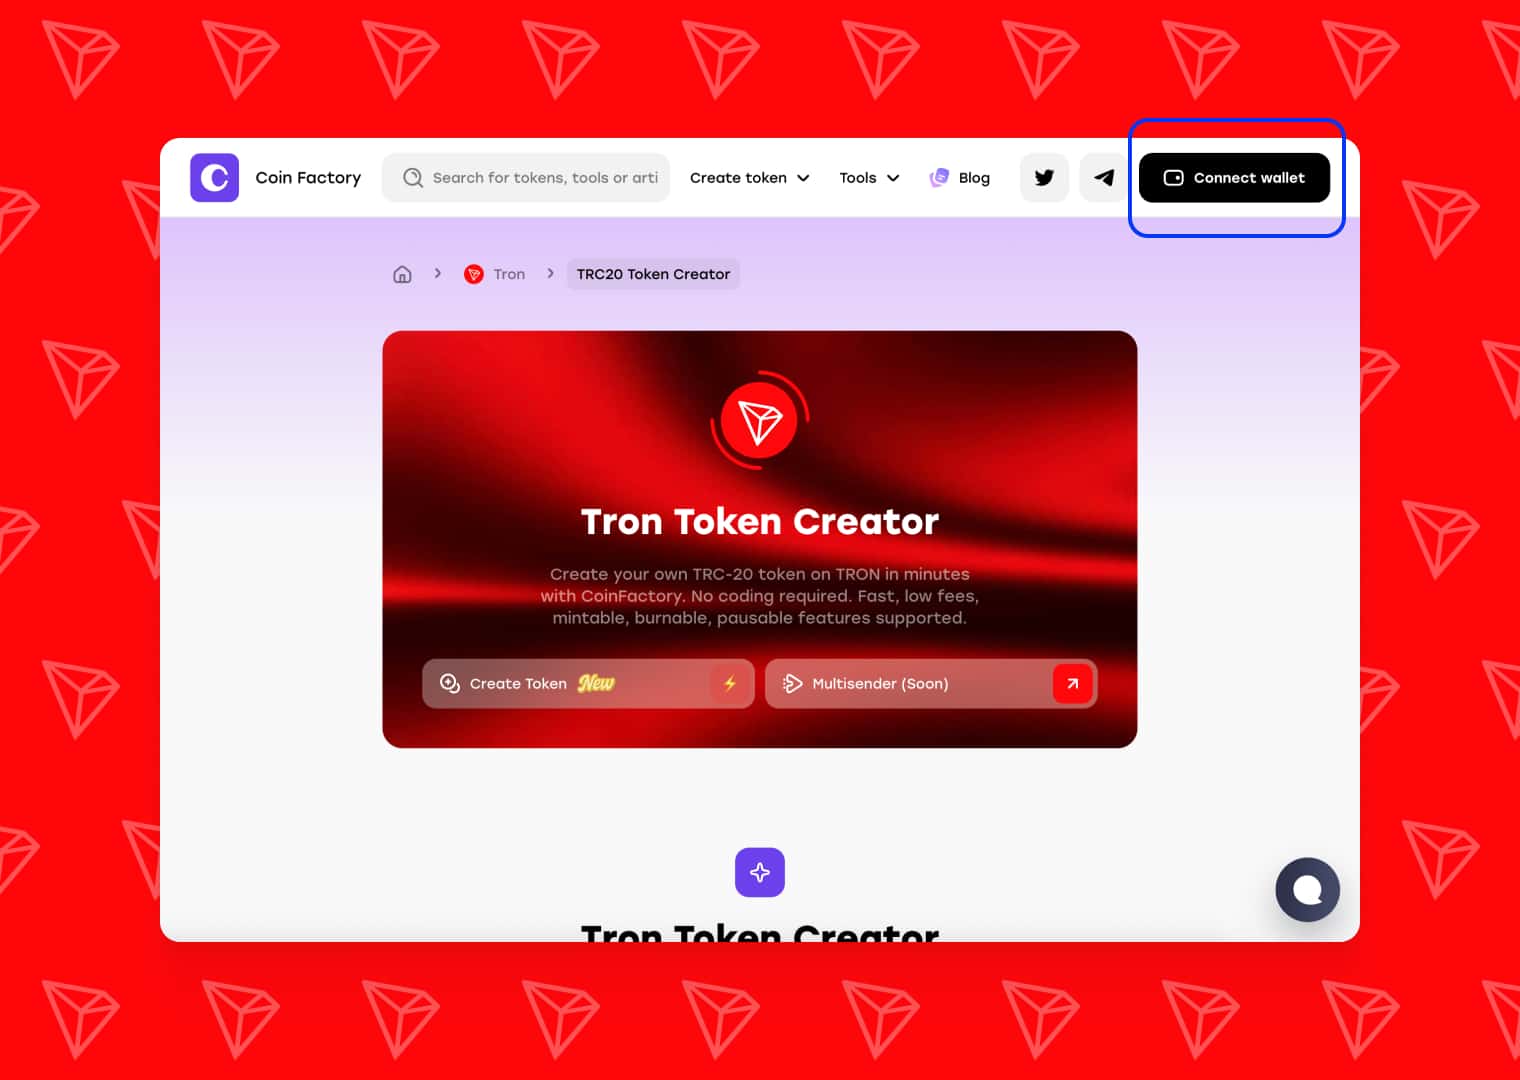
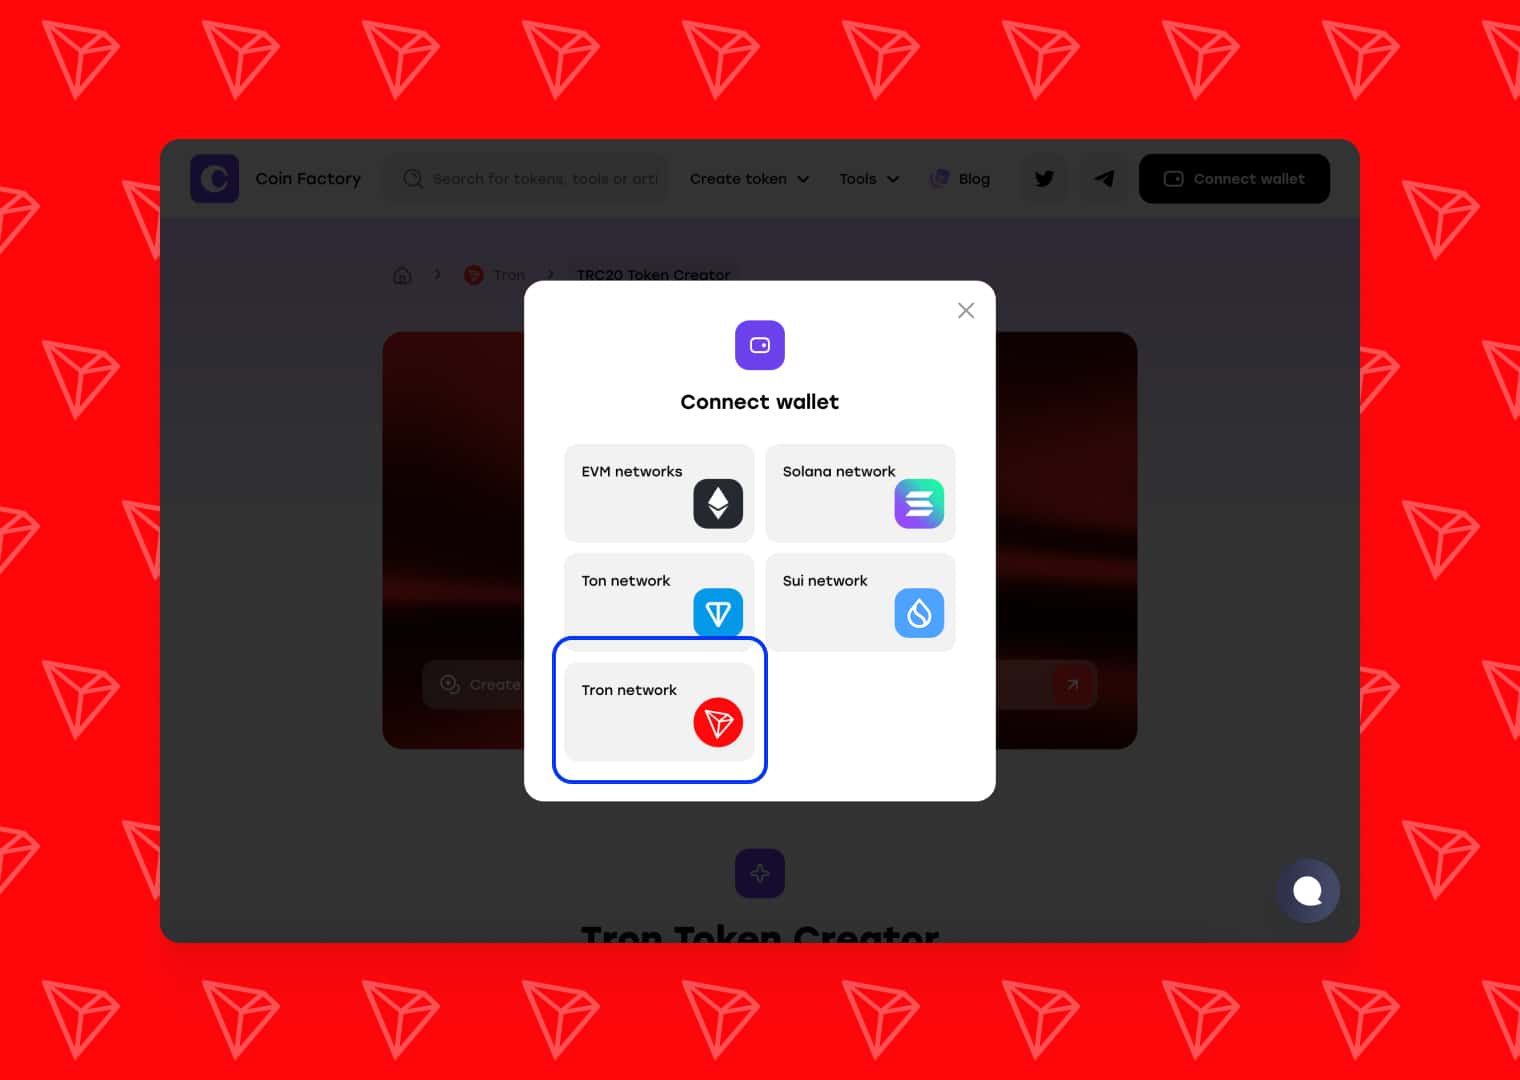
Look for the “Connect Wallet” button in the top right corner of the screen. Select TronLink from the list of wallet options. Your TronLink extension will pop up asking for permission to connect to the site. Click approve.
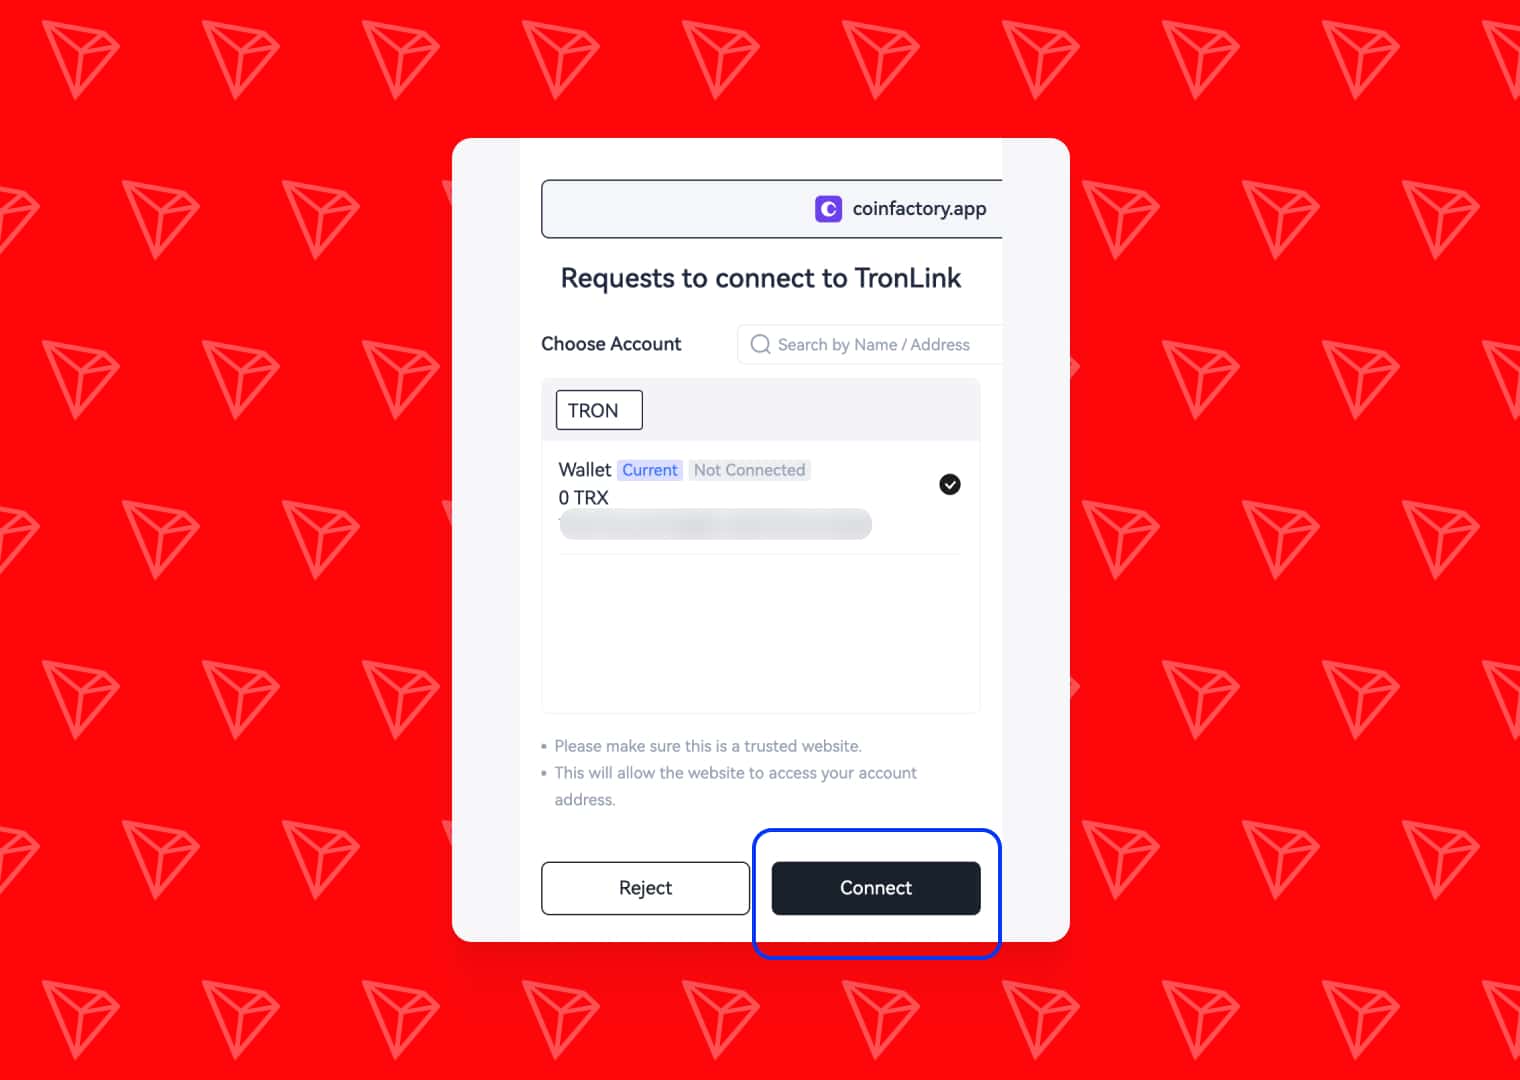
Note: Ensure your wallet is switched to the Tron Mainnet before proceeding.
Step 2: Enter Your Token Information
CoinFactory uses a highly secure, battle-tested standard TRC-20 smart contract template. You don’t need to sift through complex contract types; simply fill in the foundational details of your new cryptocurrency:
- Token Name: The full name of your project (e.g., USDT Coin).
- Token Symbol: The short ticker sequence for exchanges (e.g., USDT). Typically 3-5 uppercase letters.
- Decimals: This dictates how your token can be divided. The industry standard is 18 (similar to Ethereum and Tron's native structures), meaning your token can be divided down to 10−18.
- Initial Supply: The total number of tokens that will exist when the contract is deployed. (e.g., 1000000000).
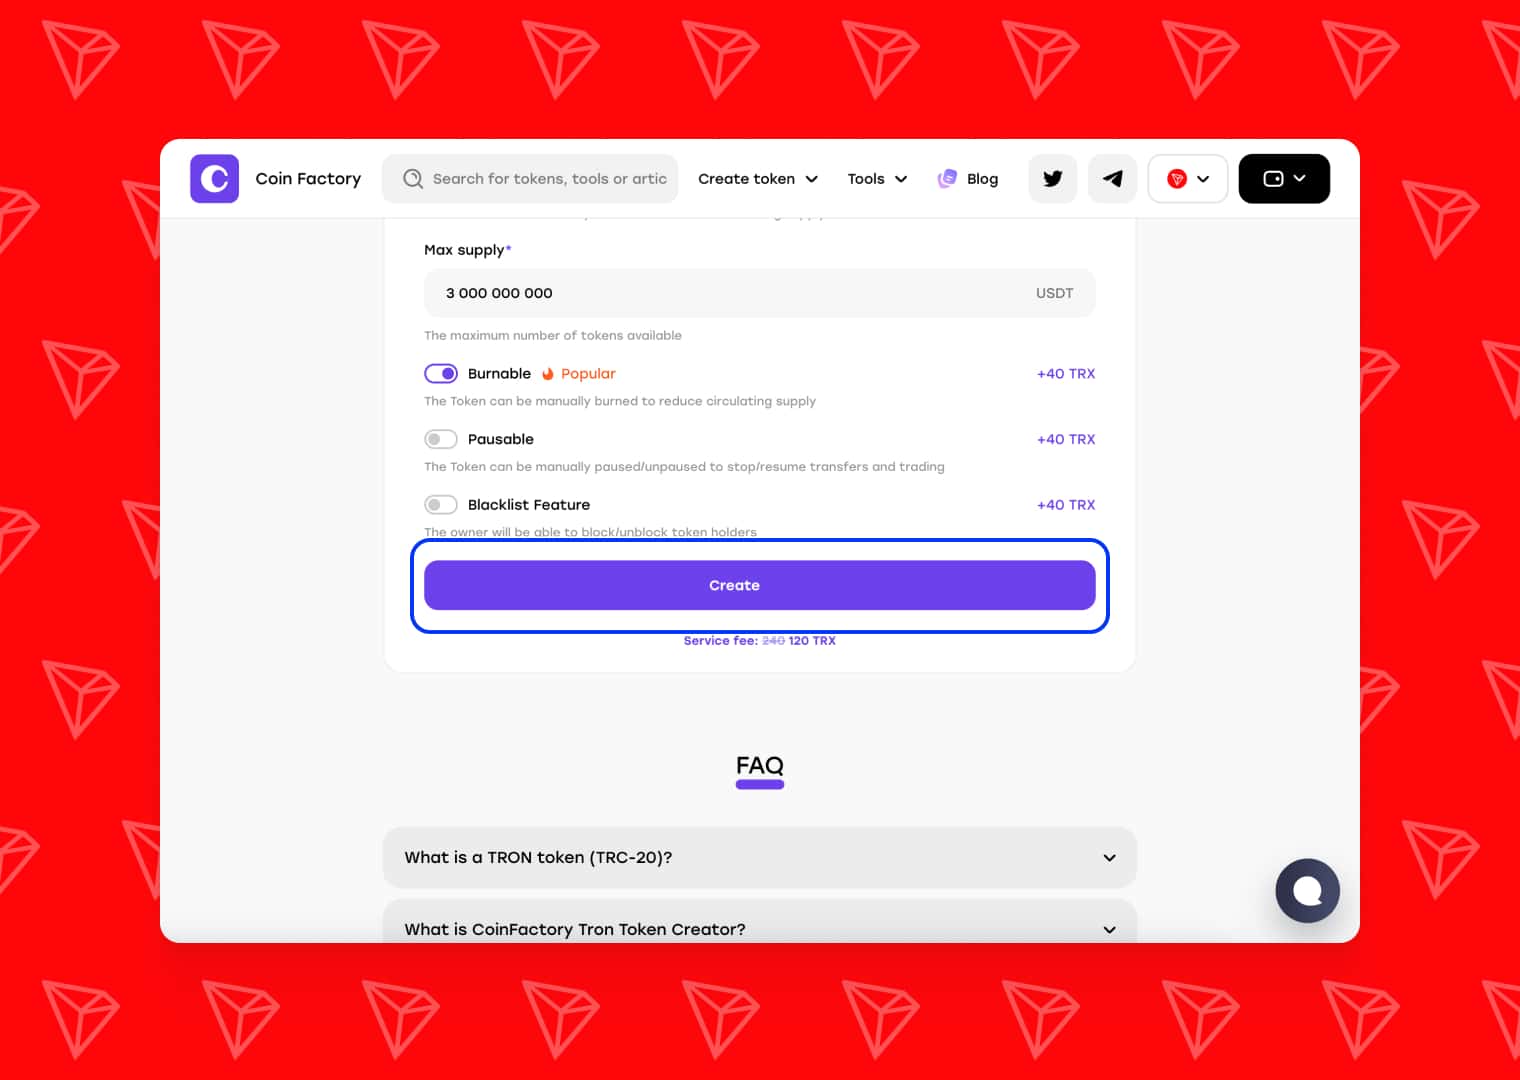
- Mintable: The Token can be manually minted to increase circulating supply. (Recommend)
- Burnable: The Token can be manually burned to reduce circulating supply. (Recommend)
- Pausable: The Token can be manually paused/unpaused to stop/resume transfers and trading.
- Blacklist: The owner will be able to block/unblock token holders.

Step 3: Review Your Token Details and Deploy
Because CoinFactory uses a streamlined, single-template approach for Tron, you don’t have to worry about configuring complex backend routing or coding standard functions. The contract is already optimized for TRC-20 compliance, ensuring instant compatibility with wallets and exchanges.
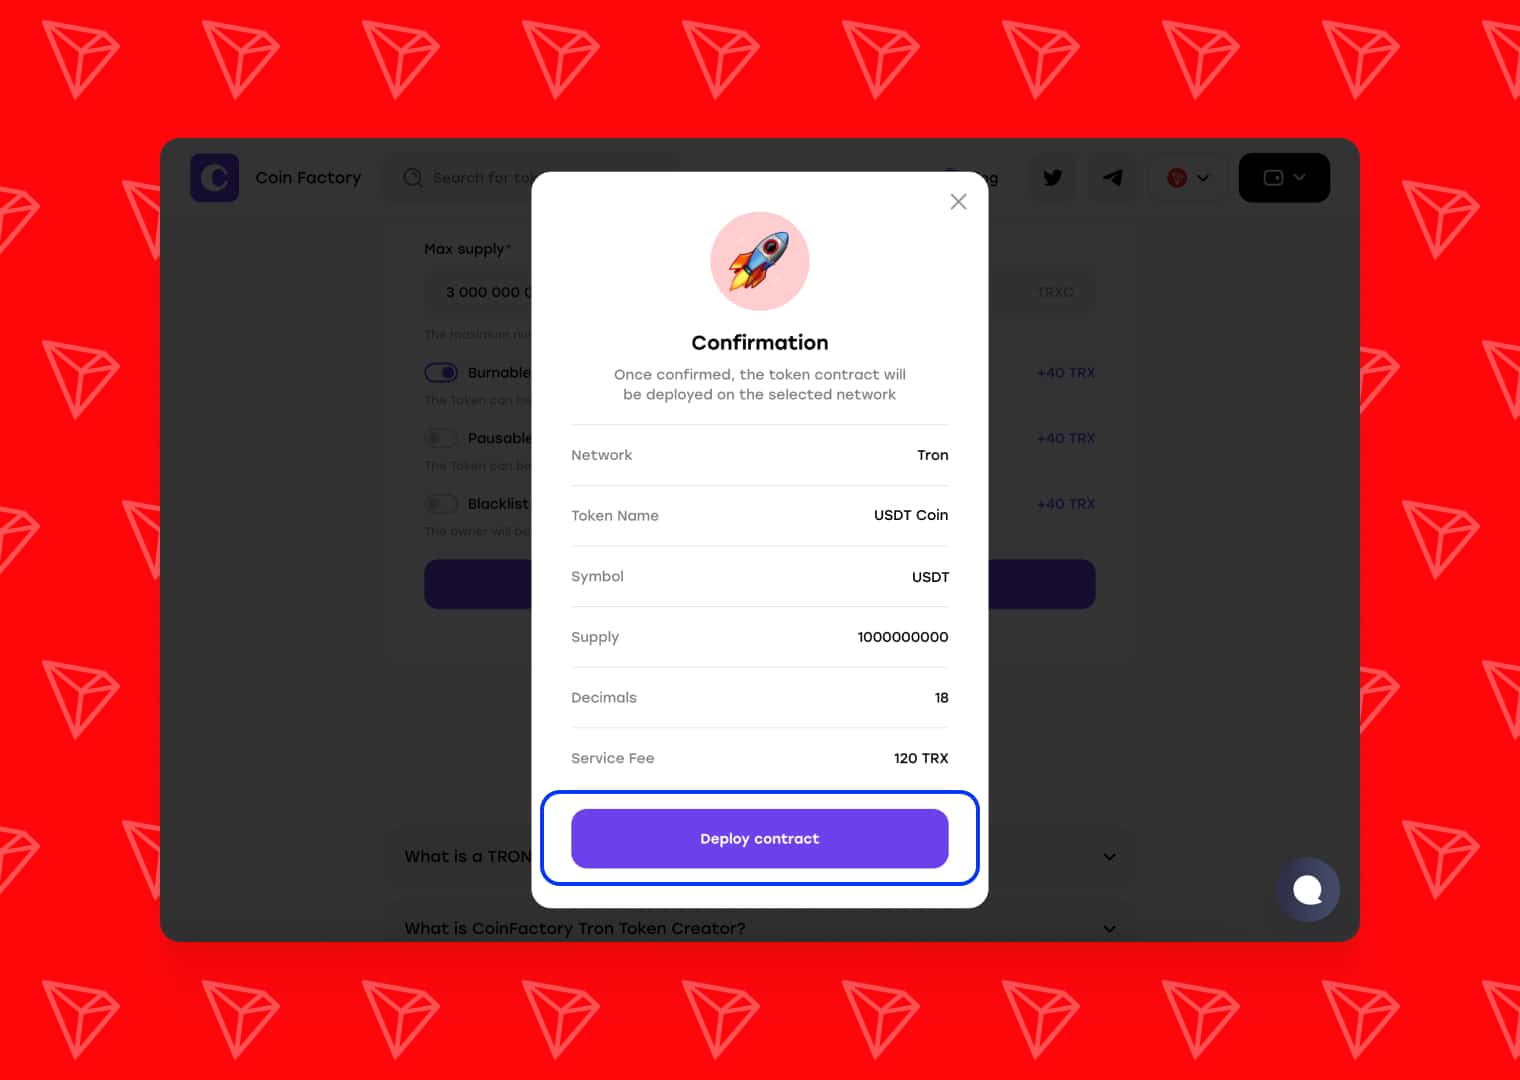
Take a moment to carefully review your token details. Once a smart contract is deployed to the blockchain, the native parameters (like Name and Symbol) cannot be changed.
When you are ready:
- Click the “Deploy” or “Create Token” button.
- Your TronLink wallet will pop up with a transaction request.
- Review the network fee (TRX) required to deploy the contract.
- Click Confirm in your wallet.
Step 4: Add a Token to Wallet
Congratulations! Your token is now live on the Tron blockchain. The deployment process usually takes only a few seconds.
Once confirmed, CoinFactory will display your Token Contract Address. This string of characters is the unique identifier for your asset.
Step-by-step instructions on how to add your own token to the TronLink wallet:
- Open your TronLink extension.
- Click on the + (Add Asset) icon on the main screen.
- Paste your Token Contract Address into the search bar.
- Click the + next to your token to add it to your asset list. You will instantly see your full initial supply sitting in your wallet!
What to Do After Launching Your Token
After deployment, you can:
- ✅ add your token to TronLink;
- ✅ create a liquidity pool;
- ✅ launch trading on DEX platforms;
- ✅ distribute tokens through airdrops;
- ✅ create a token profile page;
- ✅ build a community around your project.
Many creators also use their token for Telegram Mini Apps, gaming projects, and Web3 communities.
Conclusion
Creating a USDT TRC20 token on TRON has never been easier. With modern no-code tools like CoinFactory, you can launch your own token without programming knowledge in just a few minutes.
Whether you are building a meme coin, payment token, or Web3 startup, TRON provides one of the fastest and most affordable ecosystems for launching a crypto project.
Tags
Guide
Usdt
Tron
Trc20
Token